Sanding is an important step when working with materials. Some people do it to remove imperfections on surfaces ranging from ceilings to floors. It is also a useful technique that prepares surfaces for painting, especially when the natural surface is too slick to allow the necessary adherence of a paint or filling compound.
Sanding can also enhance the look of some materials, such as metals. Getting the best results requires people to know how to select the best abrasives and follow the necessary steps.
Working With Wood
When people sand wood, they must determine what they want to achieve. The answer to that question guides what kind of sandpaper they should select. For example, a medium grit is ideal for general-purpose sanding, including preparing wood for painting.
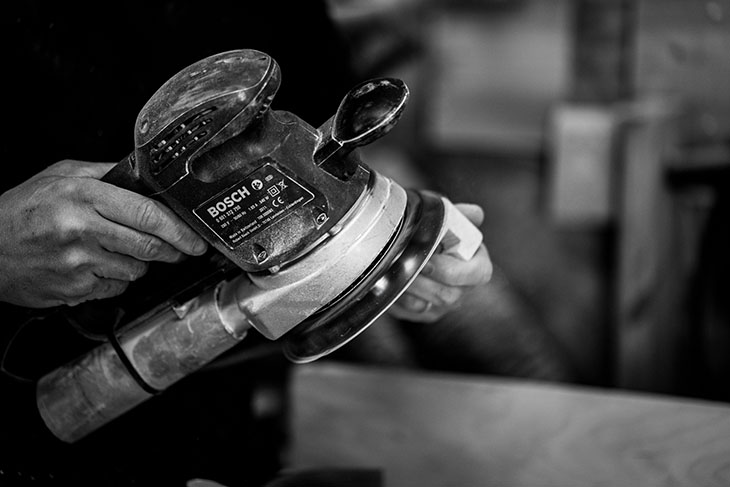
However, those aiming for an extremely smooth finish should consider performing a multistep process. After using the medium-grit option, follow it up with fine-grit and ultra-fine-grit varieties. That should provide a glass-like finish that many people prefer for projects such as furniture. The recommended grits remain constant whether people use sanding blocks or power tools.
When a sanding project involves refinishing wood floors, people should start with the coarsest grit available and use a drum sander or belt sander to make strokes several feet long while going in the direction of the grain.
Making Metal Look Marvelous
Metal is like wood in that it is an extremely common material. Its popularity means people frequently need to sand it when using it in their projects. However, they must know which technique to use and which supplies to choose to avoid damaging the material.
Individuals may need to sand metal when tackling auto body repairs to improve surface aesthetics. It is essential to survey the extent of the damage in such cases. Suppose a car has rough areas, and the body shop worker wants to even them out. Selecting a 24- to 36-grit sandpaper option should get the job done. Additionally, this coarseness level can even out rough edges.
If the vehicle is older and its surface has numerous overcoats added through the years, a grit level in the 30s is typically the best choice for parts of the surface that need the most intense sanding.
When selecting the grit, people must be mindful of the metal’s hardness and its likelihood of getting scratched. For example, steel is a comparatively harder metal that can tolerate coarser grits and more aggressive sanding than aluminum.
Getting Good Results With Glass
Although glass is a material people sand less often, the usual reasons to consider sanding are to remove scratches and smooth the material’s edges. If the goal is to remove scratches, choose an extremely fine abrasive to reduce the chances of worsening the damage. It is also important to wet the sandpaper and glass. The moisture then acts like a lubricant.
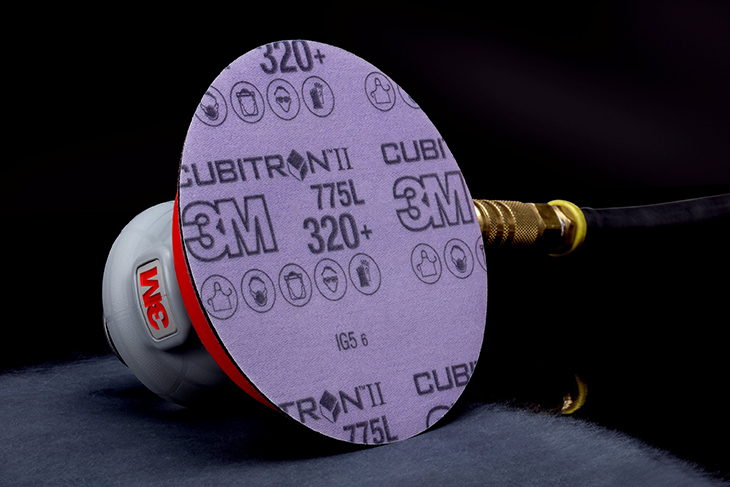
When sanding glass to remove sharp edges, a best practice is to start with coarser sandpaper before trying finer options. Additionally, have several grits available. The higher the sandpaper’s number, the finer the grit. Finish with the finest kind if the desire is to get the smoothest outcomes. Although some people sand glass by hand, others prefer using drills.
Regardless of the chosen method, consistent pressure is important. Additionally, when sanding large pieces of glass, people should rotate the piece as they go to prevent working on some areas more than others and getting uneven results.
Aiming for Appropriate Abrasives
Grit selection is crucial to effective sanding. The right choices during this step create the conditions for getting excellent results. The above content will steer people in the right direction, but they should always consider project- or material-specific details before proceeding.


